Repair a Cracked Phone Screen with a Fix Kit: A DIY Guide
Are you tired of living with a cracked phone screen that obstructs your view and makes it difficult to use your device? Repairing a cracked phone screen can be challenging, but with the right fix kit, you can do it yourself and save money. In this article, we'll provide you with a comprehensive guide on how to repair a cracked phone screen using a fix kit.
What is a Fix Kit for Cracked Phone Screens?
A fix kit for cracked phone screens is a DIY repair kit that includes the necessary tools and materials to repair a cracked or damaged phone screen. The kit usually includes a repair adhesive, frame repair strips, and other tools to help you navigate the repair process. With a fix kit, you can safely and quickly repair a cracked phone screen and get your device back in tip-top shape.
Why Choose a Fix Kit for Repairing a Cracked Phone Screen?

There are several reasons why you should choose a fix kit for repairing a cracked phone screen:
What to Look for in a Fix Kit for Cracked Phone Screens
When shopping for a fix kit for cracked phone screens, look for the following features:
- Compatibility: Ensure the fix kit is compatible with your phone model.
- Affordable price: Look for a fix kit that is reasonably priced and offers good value for money.
- High-quality materials: Opt for a fix kit that includes high-quality materials and tools.

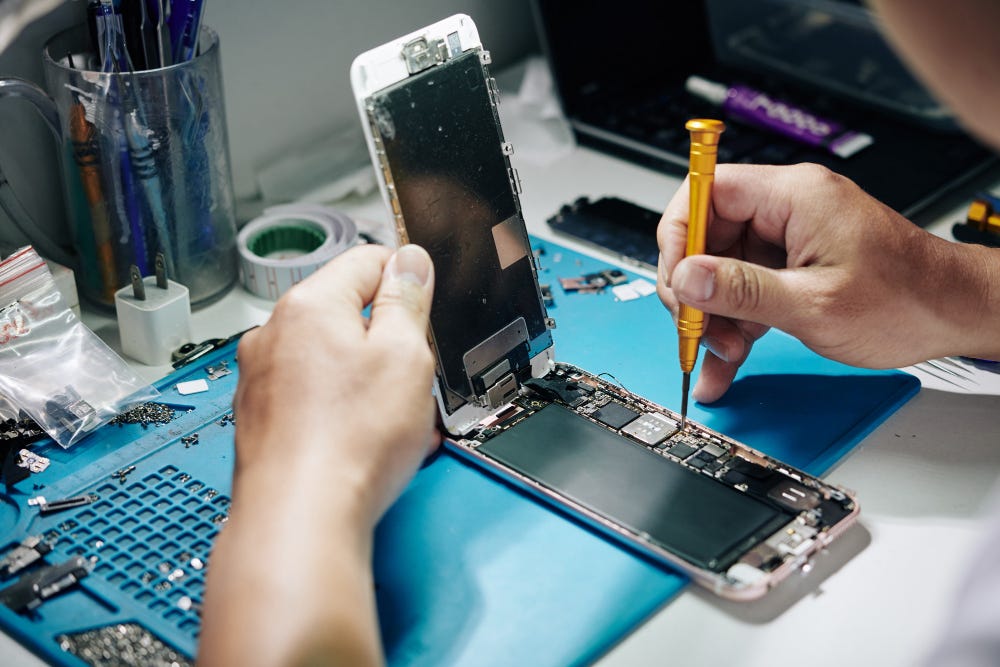
This particular example perfectly highlights why Repair Cracked Phone Screen With Fix Kit is so captivating.
Step-by-Step Instructions for Repairing a Cracked Phone Screen with a Fix Kit
Repairing a cracked phone screen with a fix kit is a relatively simple process. Here's a step-by-step guide to help you through the process:
- Prepare the area: Before starting the repair, turn off your phone and remove any accessories or cases.
- Inspect the damage: Examine the cracked screen and determine the extent of the damage.
- Prepare the fix kit: Follow the instructions provided with the fix kit to prepare the necessary tools and materials.
- Apply the repair adhesive: Apply a small amount of repair adhesive to the cracked area and smooth it out with a credit card or similar tool.
- Replace the glass: Once the adhesive is dry, carefully replace the glass and press it firmly onto the screen.
- Test the screen: Turn on your phone and test the screen to ensure it's functioning correctly.
Conclusion
As we can see from the illustration, Repair Cracked Phone Screen With Fix Kit has many fascinating aspects to explore.
Repairing a cracked phone screen with a fix kit is a great way to save money and get your device back in use quickly. With the right fix kit and a bit of patience, you can safely and efficiently repair a cracked phone screen and enjoy the benefits of a functional and operable device. So, the next time you encounter a cracked phone screen, don't hesitate to grab a fix kit and get to work!
Final Tips and Recommendations
Here are a few final tips and recommendations to keep in mind when repairing a cracked phone screen with a fix kit:
- Handle the glass with care: Be careful when handling the glass to avoid further damage or injury.
- Follow the instructions: Read and follow the instructions provided with the fix kit carefully.
- Take your time: Repairing a cracked phone screen can be a time-consuming process, so be patient and take your time.
- Consider professional help: If you're not comfortable repairing the screen yourself, consider seeking professional help.


