DIY Smart Thermostat Installation: A Comprehensive Guide
Installing a smart thermostat is a great way to enhance your home's energy efficiency, comfort, and convenience. With the rise of smart home technology, a DIY smart thermostat installation is now a viable option for many homeowners. In this article, we'll walk you through the process of installing a smart thermostat safely and efficiently, covering the necessary tools, wiring, and troubleshooting tips.
Benefits of DIY Smart Thermostat Installation
Tools and Materials Needed
- Screwdrivers (flathead and Phillips)
- Wire nuts and electrical tape
- Labeled wire stripper (for labeling wires)
- Thermostat mounting plate
- New smart thermostat
Step 1: Prepare for Installation
This particular example perfectly highlights why Diy Smart Thermostat Installation is so captivating.
Before starting the installation, turn off the power to your HVAC system at the circuit breaker. Verify that the power is off using a non-contact voltage tester.
Step 2: Disconnect the Old Thermostat
Carefully remove the old thermostat, labeling the wires as you disconnect them. Take note of the wire colors and their corresponding terminal connections.
Step 3: Install the New Mounting Plate
Ensure the new mounting plate is level and secure. This will provide a solid foundation for your new smart thermostat.
Step 4: Connect the Wires
Use labeled wire nuts and electrical tape to secure the wires to the corresponding terminals on your new smart thermostat. Double-check the wiring diagram to ensure correct connections.
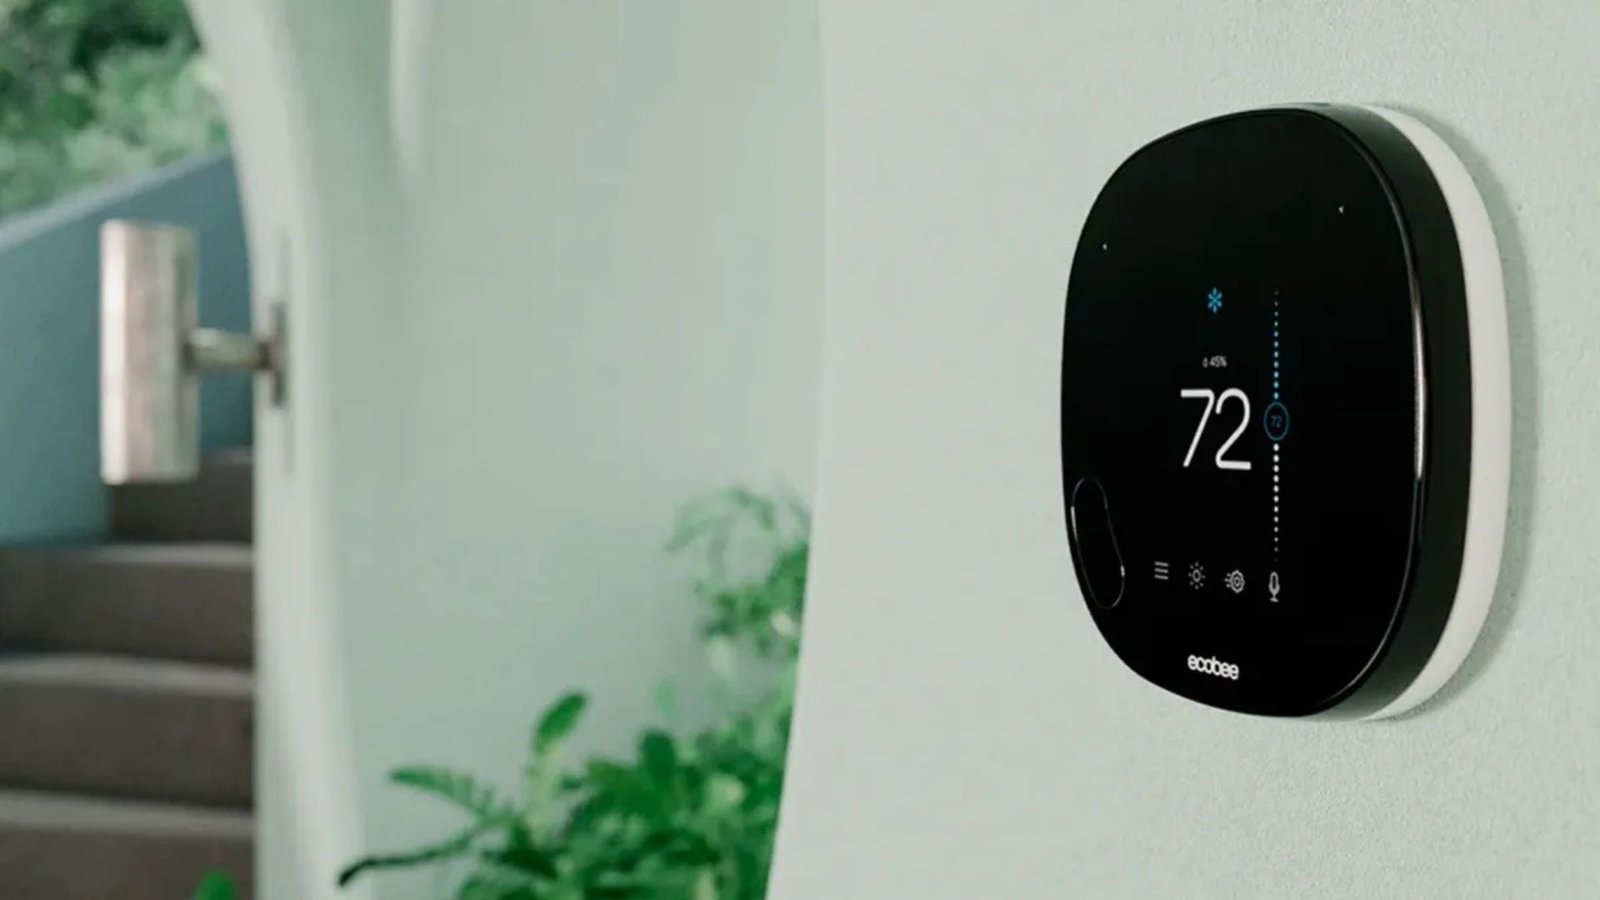
Step 5: Install the Smart Thermostat
Mount the smart thermostat on the wall, making sure it's level and secure. Connect the power supply to the thermostat.
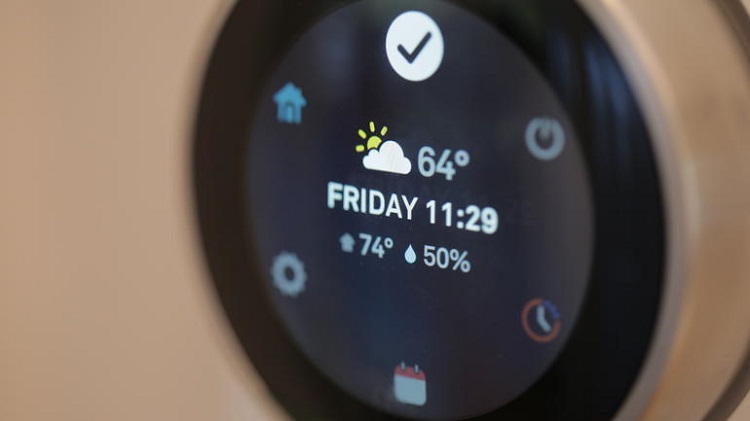
Step 6: Configure the Smart Thermostat

Such details provide a deeper understanding and appreciation for Diy Smart Thermostat Installation.
Follow the manufacturer's instructions to configure your smart thermostat. This may involve connecting to your Wi-Fi network, setting up scheduled temperature changes, and adjusting other preferences.
DIY Smart Thermostat Installation Tips and Considerations
- Ensure compatibility with your HVAC system before purchasing a smart thermostat.
- Use a voltmeter to test for power before starting the installation.
- Carefully label wires to avoid confusion during connection.
- Follow the manufacturer's instructions for specific installation requirements.
- Consider power-saving features, such as geofencing and smart scheduling.
Conclusion
Installing a smart thermostat can significantly improve your home's energy efficiency, comfort, and convenience. With this comprehensive guide, you'll be well-equipped to complete a successful DIY smart thermostat installation. Remember to follow safety guidelines, double-check wiring, and enjoy the benefits of smart home technology.


