Setting Up Your Amazon Seller Account: A Step-by-Step Guide
Are you looking to start selling on Amazon, but unsure of how to create and set up your Amazon seller account? Look no further. In this guide, we will take you through the process of setting up your Amazon seller account, from choosing the right plan to submitting documents and avoiding common mistakes.
Step 1: Choose the Right Plan for Your Business
Amazon offers two main plans for sellers: Individual and Professional. The Individual plan is suitable for casual sellers who sell fewer than 40 items per month, while the Professional plan is ideal for serious sellers who sell more than 40 items per month. As a Professional seller, you will have access to additional features and tools, such as seller performance metrics and additional customer support.
Before choosing a plan, consider the following factors:
- How many items do you plan to sell per month?
- Do you need additional features and tools to help you manage your business?
- Are you willing to pay more for additional services and support?
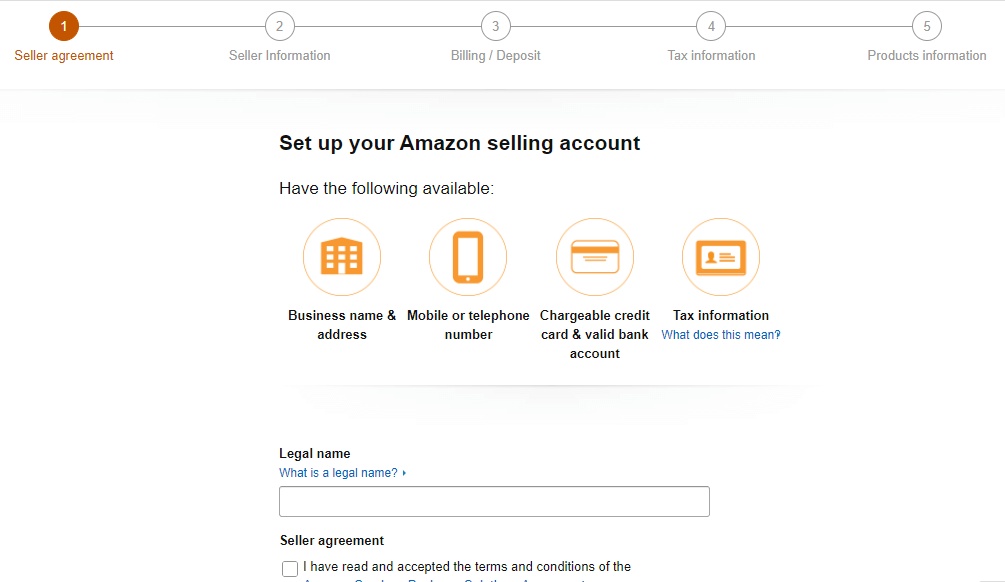
Step 2: Register for an Amazon Seller Account
This particular example perfectly highlights why How To Set Up Amazon Seller Account is so captivating.
Once you have chosen the right plan for your business, it's time to register for an Amazon seller account. To do this, follow these steps:
- Go to Amazon Seller Central and click on the "Create an account" button.
- Fill out the required information, including your name, email address, and password.
- Verify your email address by clicking on the link sent to you by Amazon.
- Fill out the registration form, including your business information, including your business name and address.
Step 3: Submit Required Documents
As an Amazon seller, you will be required to submit certain documents to verify your identity and business. These documents may include:
- Government-issued ID (driver's license, passport, etc.) li>Business registration documents (articles of incorporation, etc.)
- Proof of address (utility bill, etc.)
Make sure to submit all required documents in the correct format to avoid delays in the registration process.

Step 4: Set Up Your Seller Central Account
Once you have submitted your required documents, it's time to set up your Seller Central account. This includes creating your seller profile, adding your business information, and setting up your payment and tax information.
Step 5: Avoid Common Mistakes
- Not paying attention to the required documents and registration process.
- Not choosing the right plan for your business.
- Not setting up your payment and tax information correctly.
- Not keeping your account information up to date.
By following these steps and avoiding common mistakes, you can ensure a smooth and successful setup of your Amazon seller account.
Conclusion
Setting up your Amazon seller account is a straightforward process that requires attention to detail and careful planning. By following the steps outlined in this guide, you can ensure a successful and profitable selling experience on Amazon. Remember to choose the right plan for your business, submit required documents, set up your Seller Central account, and avoid common mistakes. Good luck!


 | Sell on Amazon")


 Step-by-Step for Beginners")


")