Setting Up Your 6th Generation Wi-Fi Router for a Fast and Reliable Internet Experience
Understanding the Features of the 6th Generation Wi-Fi Router
The 6th generation of Wi-Fi routers, also known as Wi-Fi 6, offers a significant improvement over its predecessors. This next-generation technology provides faster speeds, greater capacity, and lower latency, enabling users to enjoy a seamless internet experience. In this article, we will delve into the world of Wi-Fi 6 and provide a comprehensive guide on how to set up your 6th generation Wi-Fi router for optimal performance.Why Upgrade to a Wi-Fi 6 Router?
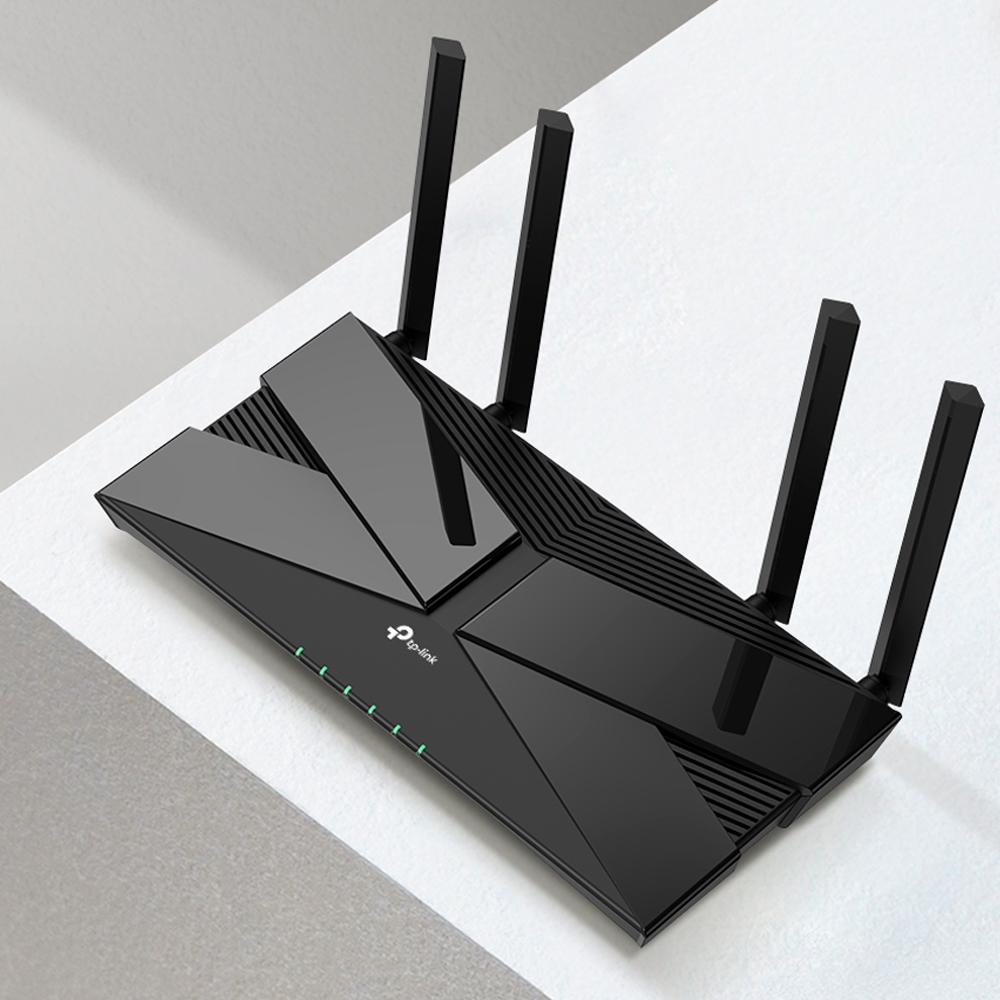
TP-Link Archer AX3000 is a great example of a Wi-Fi 6 router that offers improved speeds and reliability. With the increasing number of devices connected to the internet, a Wi-Fi 6 router is essential for a fast and reliable internet experience. These routers support more devices, reducing congestion and latency, and provide a better overall performance.Setting Up Your Wi-Fi 6 Router: A Step-by-Step Guide
This particular example perfectly highlights why Wireless Router Setup 6Th Generation is so captivating.
1.Connect Your Router to the Modem
First, ensure that your modem is powered on and functioning correctly. Connect the modem to the router using an Ethernet cable. 2. Turn on your router and let it complete the boot process. 3.Access the Router's Web Interface
Open a web browser and type the router's IP address. The default IP address for most routers is 192.168.0.1. Log in to the router using the default admin username and password. 4.Change the Admin Password
For security reasons, change the default admin password to a strong and unique password. 5.Set Up Your Wireless Network

Furthermore, visual representations like the one above help us fully grasp the concept of Wireless Router Setup 6Th Generation.
Configure your wireless network by setting the SSID (network name), password, and channel. 6.


 - HP")


 - How-To Geek")


 | Fastest WiFi Router | TP-Link")


