Effortless G Router Setup Guide: A Step-by-Step Companion
Are you planning to install a G router in your home or office to enhance your internet connectivity? Setting up a G router might seem like a daunting task, but don't worry; this comprehensive guide will walk you through the process in a straightforward and easy-to-understand manner.Prerequisites for a Smooth Setup
Before you begin the setup process, ensure that you have the following: * A G router * A modem * A computer or laptop with an Ethernet connection * The installation CD or a computer with a stable internet connection to download the firmwareStep 1: Unbox and Physically Set Up the Router

Step 2: Configuring the Router through CD-ROM
1. Insert the installation CD that came with the router into your computer's CD drive. 2. Run the Setup Wizard on the CD-ROM and follow the on-screen instructions to complete the setup process. 3. Once the setup process is complete, the router will be ready for use. However, if you want to customize its advanced settings, you can use the router's web-based utility.Step 3: Accessing the Router's Web Utility
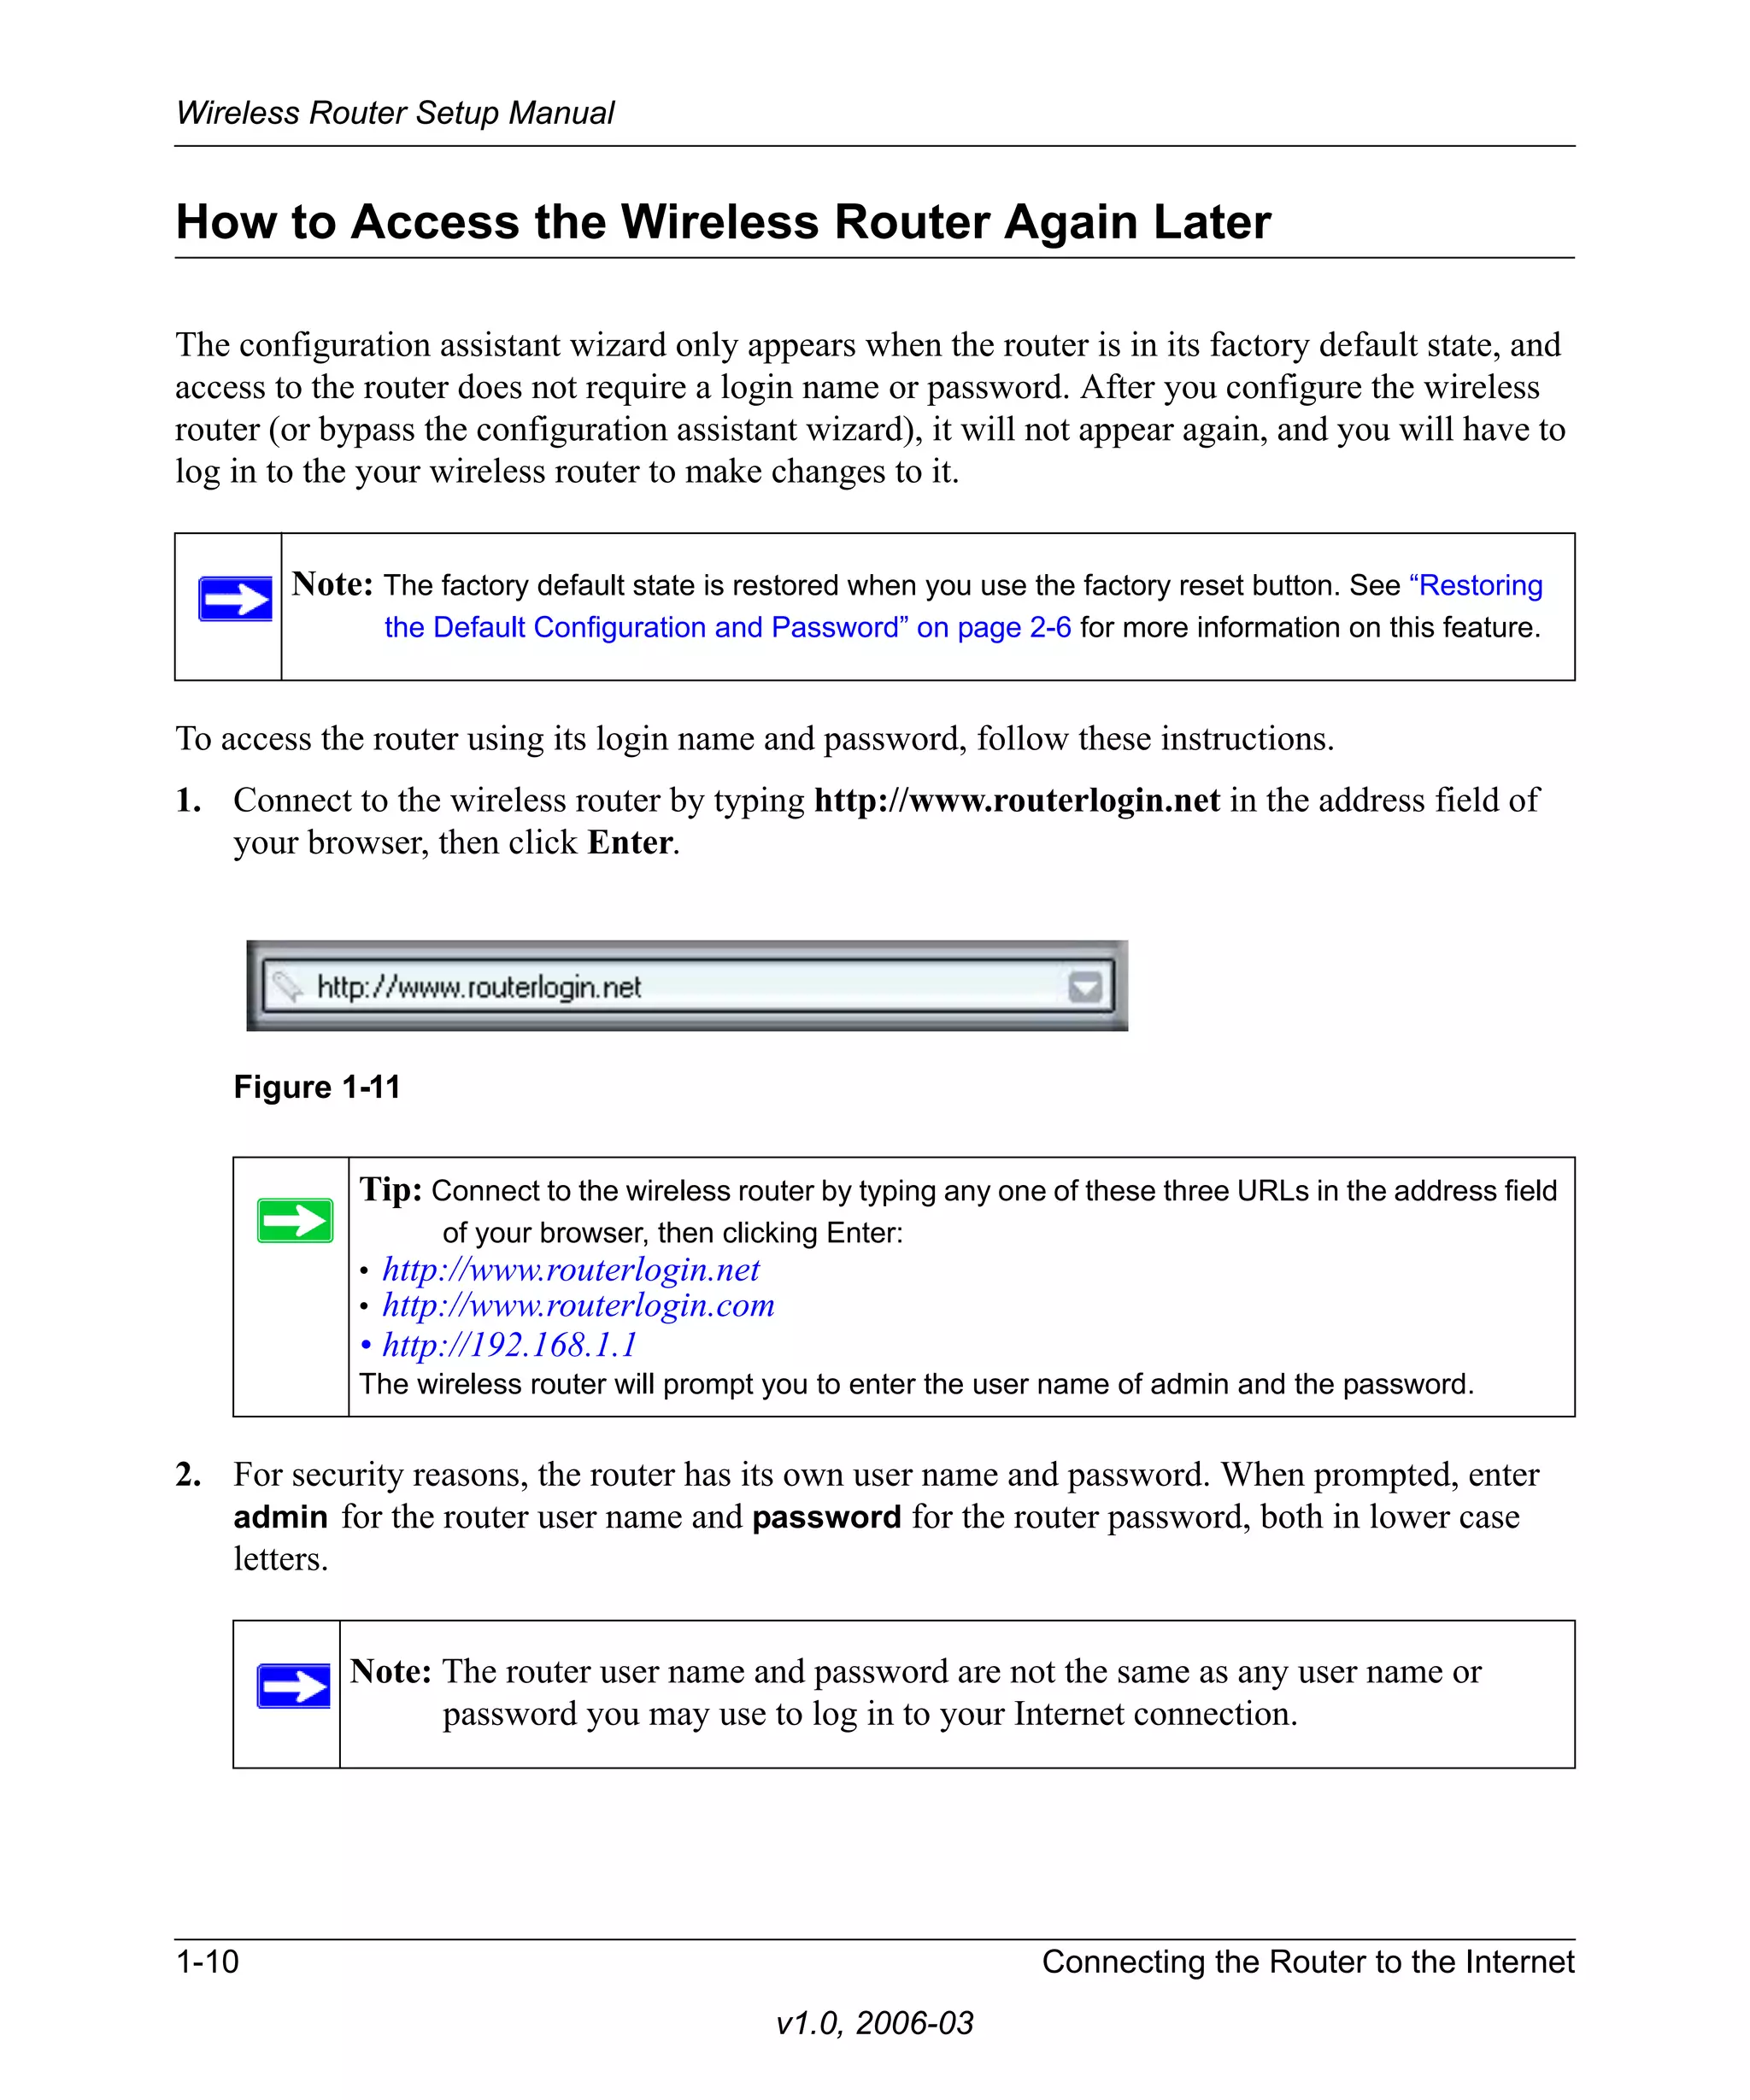
As we can see from the illustration, G Router Setup Guide has many fascinating aspects to explore.
1. Open a web browser on your computer and type the router's IP address in the address bar. The default IP address is usually `192.168.0.1`. 2. Log in to the router using the default username and password, which can be found in the user manual or on the underside of the router. 3. Change the username and password to improve security and prevent unauthorized access to your router.


 - HP")


