How to Install Printer on Chrome OS: A Step-by-Step Guide
Printing documents, images, and other files from your Chromebook is an essential functionality, especially for students, professionals, and individuals who need to print frequently. However, installing a printer on Chrome OS can be a bit tricky if you're not familiar with the process. In this article, we'll provide a comprehensive guide on how to install printer on Chrome OS, including the steps to add a printer manually, troubleshoot common issues, and configure printer settings on your Chromebook.
Choosing Your Printer
Before you start the installation process, make sure you have selected the correct printer from the drop-down menu on your Chromebook. Some printers listed may not be compatible with your Chromebook, so it's essential to check for compatibility before proceeding. If you can't find your printer on the list, you can find compatible Chromebook printers and add them manually. To do this:
Preparing Your Printer
This particular example perfectly highlights why How To Install Printer On Chrome Os is so captivating.
Before installing your printer on Chrome OS, ensure that your printer is properly configured and connected to the same network as your Chromebook. If your printer has a Wi-Fi connection, make sure it's turned on and paired with your Chromebook. If your printer is connected via USB, connect it directly to your Chromebook using a USB cable.
Installing Your Printer on Chrome OS
- Click on the notifications area in the Chromebook shelf and select "Add a printer."
- From the list of available printers, select the one you want to install and click on "Add."
- Chrome OS will then perform a compatibility check on your printer. If the check is successful, the printer will be added to your Chromebook's list of printers.
- If you're unable to find your printer on the list, you can add it manually by searching for your printer model in the search bar and selecting it from the results.
- Follow the on-screen instructions to complete the installation process.
Troubleshooting Common Issues
As we can see from the illustration, How To Install Printer On Chrome Os has many fascinating aspects to explore.
If your Chromebook is unable to detect your printer, there are several troubleshooting steps you can take:
- Ensure that your printer is properly connected to your Chromebook and that the USB cable is securely plugged in.
- Check that your printer is turned on and that it's properly configured for Wi-Fi or USB connection.
- Try restarting your Chromebook and printer to see if this resolves the issue.
Configuring Printer Settings on Your Chromebook
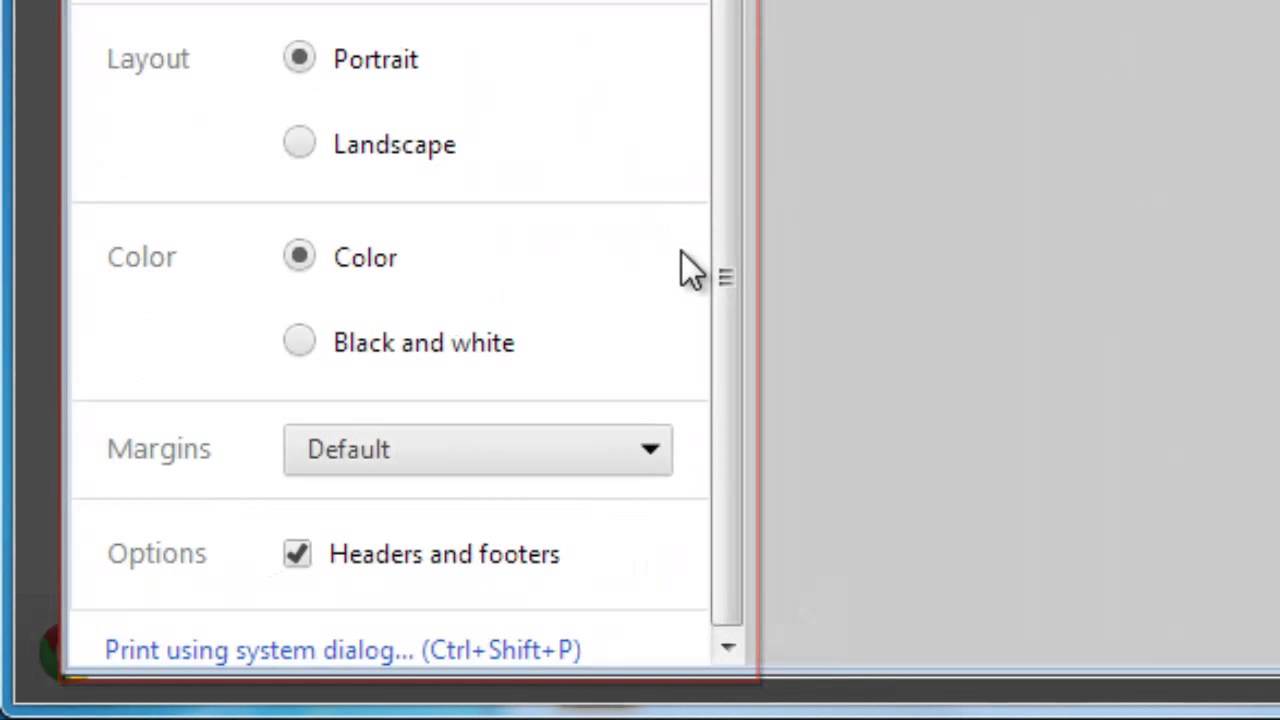
Once you've installed your printer on Chrome OS, you can configure the printer settings on your Chromebook to customize your print preferences:

As we can see from the illustration, How To Install Printer On Chrome Os has many fascinating aspects to explore.
- Click on the "Settings" app on your Chromebook and select "Advanced."
- Scroll down to the "Printers" section and select the printer you want to configure.
- Adjust the print settings as desired, such as paper size, orientation, and print quality.
Conclusion
Installing a printer on Chrome OS is a straightforward process that requires you to choose your printer from the drop-down menu, prepare your printer for installation, and follow the on-screen instructions to complete the installation process. By following the steps outlined in this article, you should be able to successfully install a printer on your Chromebook and start printing documents, images, and other files with ease. If you encounter any issues during the installation process, try troubleshooting common problems or seek further assistance from a qualified technician.


")


 | HP® Support")

:max_bytes(150000):strip_icc()/HowtoInstallaPrinterDriver-3-bb2687af744a4eecae2577831234af48.jpg "How to open the Settings app on Windows 11 - Windows Central")

