Install CenturyLink Wireless Router: A Step-by-Step Guide
CenturyLink is a popular internet service provider offering a range of plans and services to its customers. One of the key components of their internet service is the wireless router, which enables you to access high-speed internet from anywhere in your home. In this article, we'll take you through the steps to install your CenturyLink wireless router and get online.
What You'll Need
To install your CenturyLink wireless router, you'll need the following items:
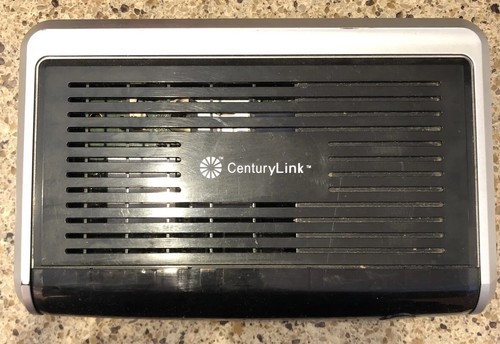
- CenturyLink wireless router (C4000 or other model)
- Power cord
- Ethernet cable
- Computer or device with internet browser
- CenturyLink internet service account
Step 1: Unbox and Physically Set Up Your Router
Such details provide a deeper understanding and appreciation for Install Centurylink Wireless Router.
Start by carefully unboxing your CenturyLink wireless router and other equipment. Physically set up your router by placing it in a central location in your home. Make sure it's away from other electrical devices and obstructions.
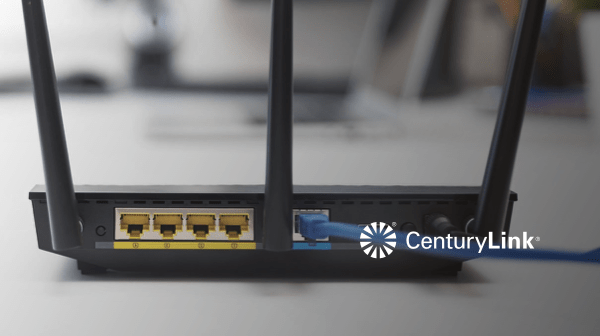
Step 2: Connect the Power Cord and Ethernet Cable
Next, connect the power cord to the back of your router and plug it into a nearby power outlet. Also, connect an Ethernet cable from the back of the router to your computer or device. This will provide a wired connection for the initial setup process.
Step 3: Log In to Your Router's Web Interface
Open an internet browser on your computer or device and type the IP address of your router's web interface. The default IP address is usually 192.168.0.1 or 192.168.1.1. Log in to your router using the admin password, which can be found on the bottom of your router or in the packaging.
Such details provide a deeper understanding and appreciation for Install Centurylink Wireless Router.
Step 4: Configure Your Wireless Network
Once logged in, navigate to the wireless settings section of your router's web interface. Here, you can configure your wireless network settings, including the network name (SSID), password, and other advanced options. Save your changes and reboot your router to apply the new settings.
Step 5: Connect to Your Wireless Network
Now that your wireless network is set up, connect your computer or device to it using the network name (SSID) and password you just configured. You may need to enter the password to connect to the network.
Step 6: Activate Your CenturyLink Internet Service

Finally, activate your CenturyLink internet service by logging in to your account online and following the on-screen instructions. This will complete the installation process and grant you access to high-speed internet.
Tips and Tricks for Installing Your CenturyLink Wireless Router
Here are some additional tips and tricks to help you install your CenturyLink wireless router successfully:
- Make sure your router is in a central location to ensure a strong and stable wireless signal.
- Use a wired connection for the initial setup process to prevent any connectivity issues.
- Configure your wireless network settings carefully to ensure a secure and stable connection.
- Save your changes and reboot your router regularly to ensure it's working properly.
- Check the CenturyLink website for any tutorials or guides specific to your router model.


