Unlocking Optimal Performance: Advanced G Network Settings for Professional PC
Introduction
Accessing Advanced Network Settings
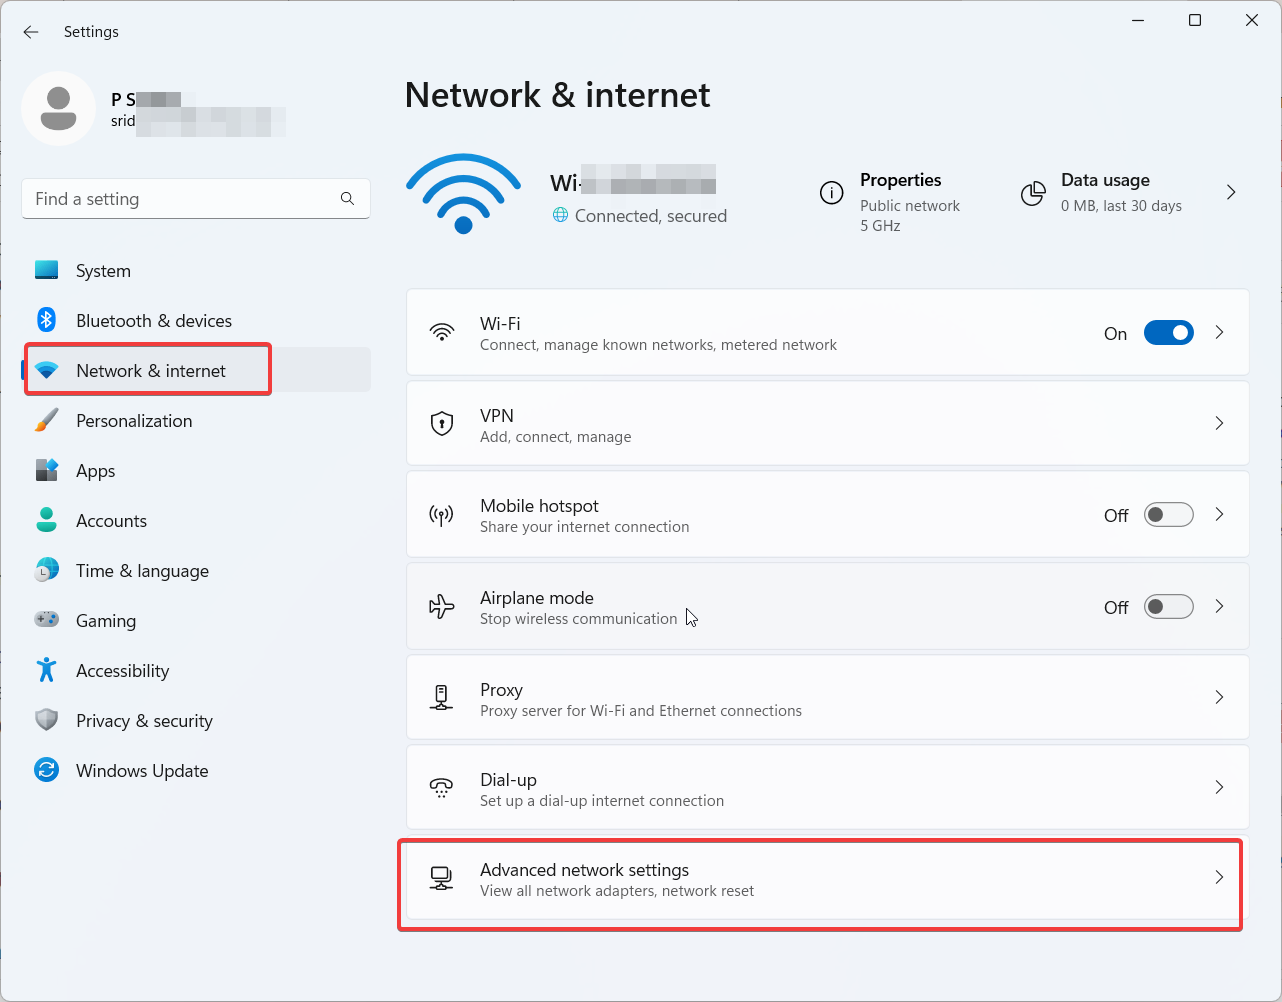
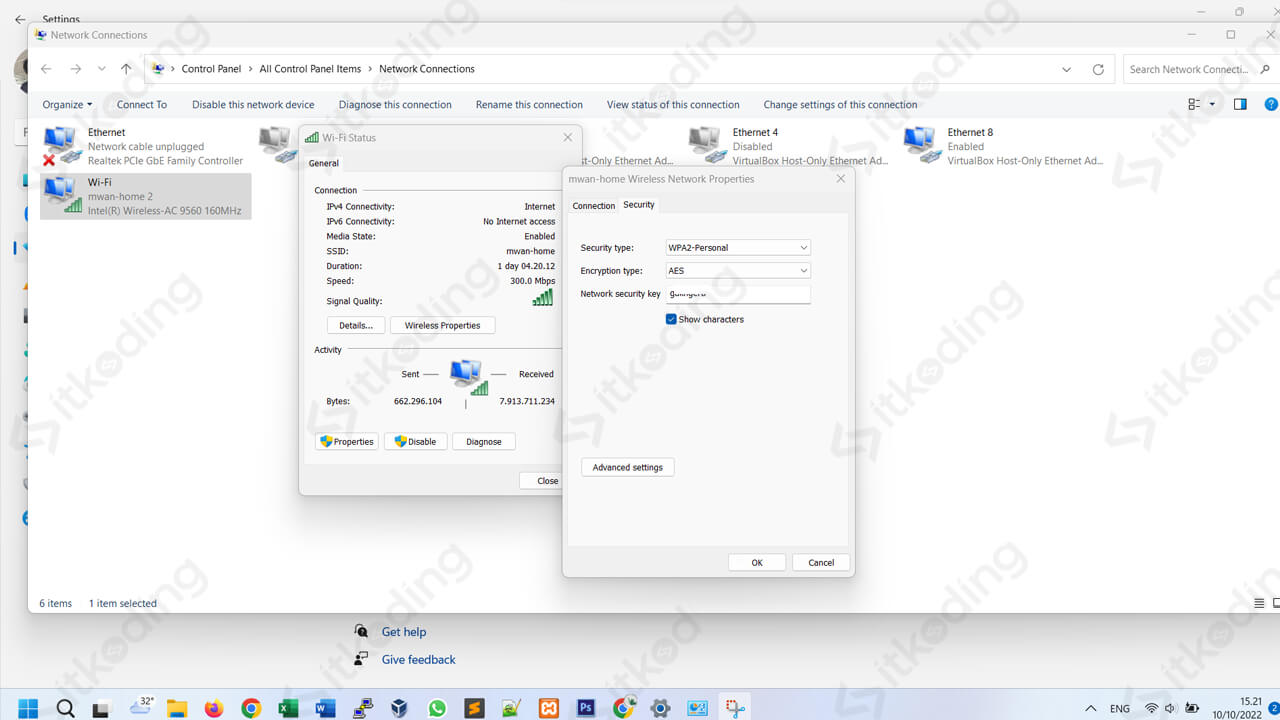
Moving forward, it's essential to keep these visual contexts in mind when discussing Advanced G Network Settings For Professional Pc.
To begin navigating advanced network settings, follow these steps: 1. Right-click the network icon in the system tray. 2. Select "Network and Internet settings" 3. Click on "Advanced network settings" 4. From there, use "More network adapter options" to open the legacy Network Connections window This will give you access to a vast array of settings, including TCP/IP, DNS, and more. Understanding these settings is essential to optimizing your network for professional use. When configuring your network, there are several key settings you should focus on: * **Network Adapter Settings**: Press the Windows + R keys, type ncpa.cpl in the Run dialog, and open network connections. Right-click on your active network and select Properties. Click on Configure and move to the Advanced tab. Adjust the network settings to optimize them for the best network performance. * **Wi-Fi Settings**: Incorrect wireless settings can lead to slow performance and intermittent connections. Follow the instructions for steps on how to access Wi-Fi settings and adjust them for optimal performance. * **Power Management**: Power management settings can significantly impact network performance. Ensure that your network adapter is set to "Prefer" or "Maximum" power saving to prevent unexpected disconnections.Advanced Techniques for Optimizing Network Performance


